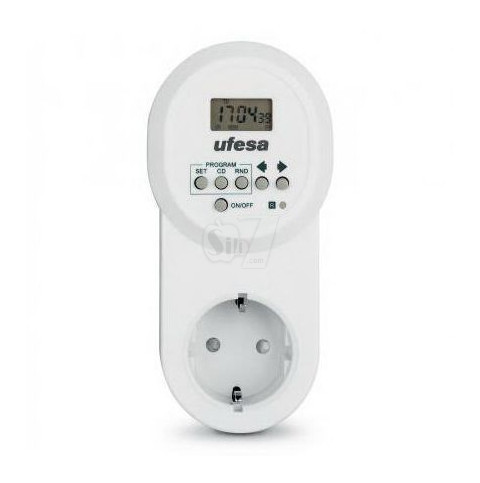
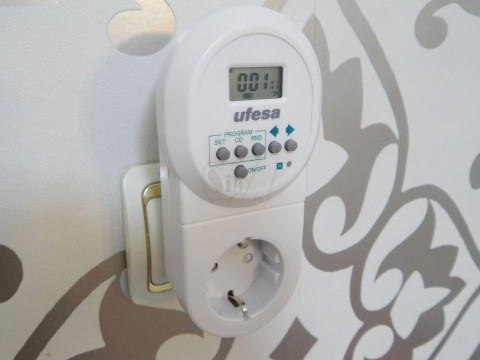
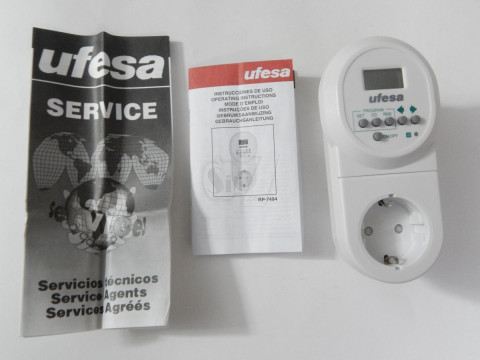
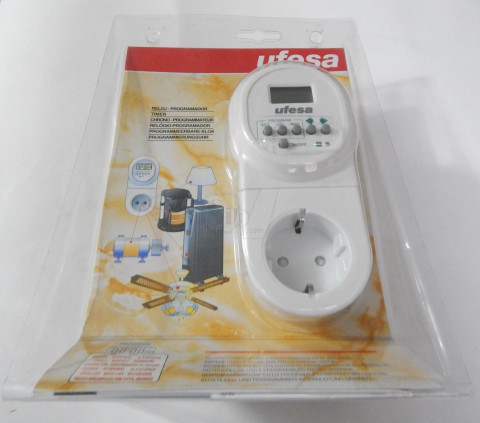
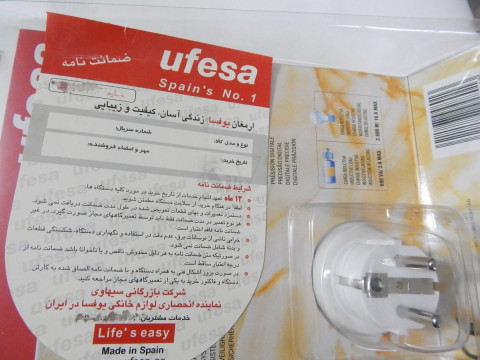
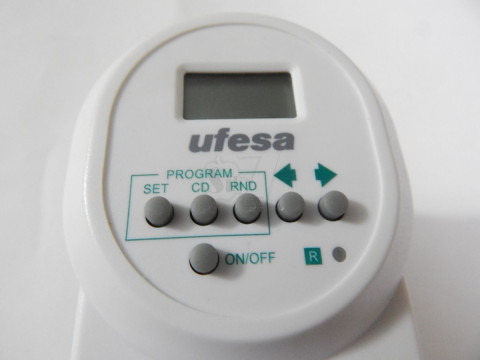
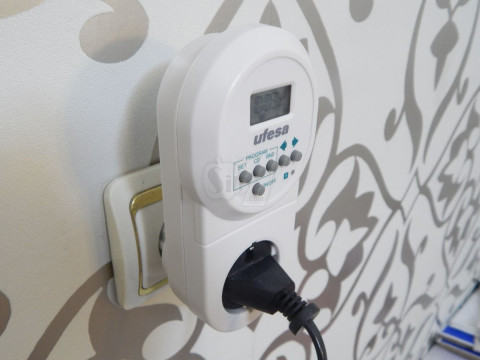
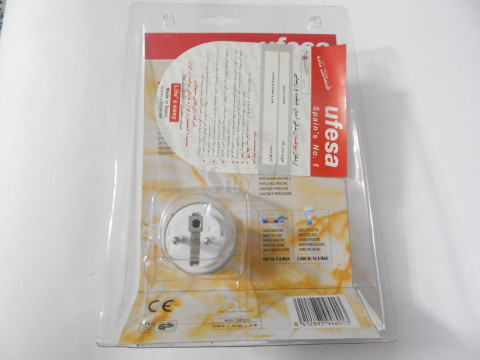
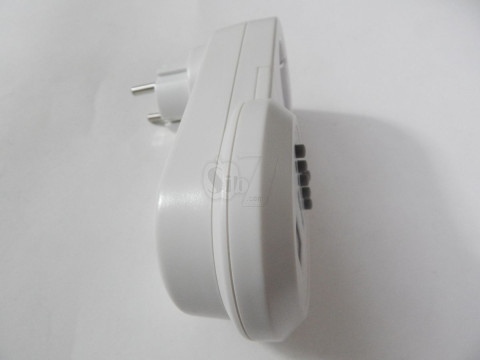
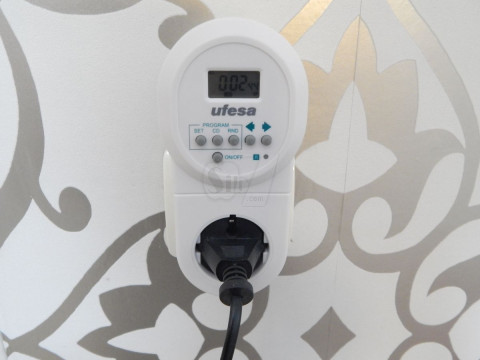
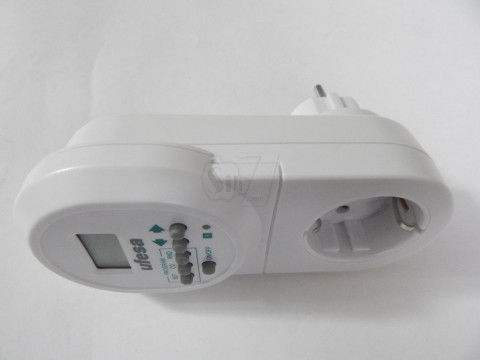
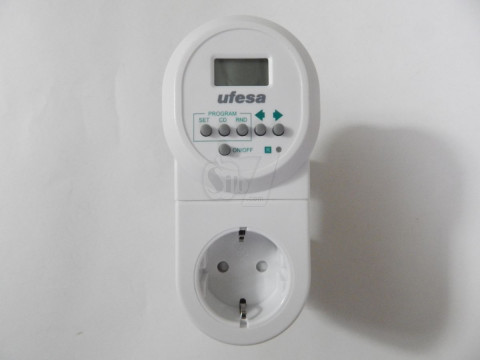
Spain UFESA RP7494 Weekly Digital Electronic Timer
Three programming options: daily, weekly, random;
Programming countdown
Programmability: 6 times a day on / off; 42 times per week
Minimum interval: 1 minute;
Button to cancel orders;
Electrical safety protection
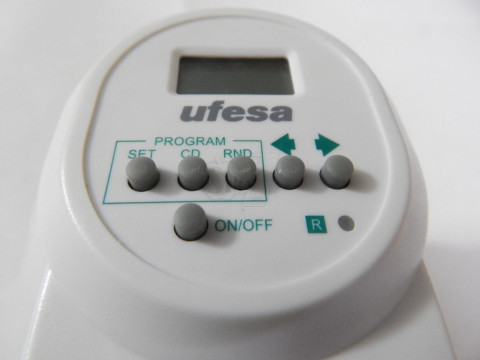
RESET Hold SET and press RESET with a round object, the type of ballpoint pen tip. Free first RESET button and after the SET button.
After resetting all programs are deleted.
BATTERY REPLACEMENT The programming always will keep the programmer to remain connected to the network.
Should be disconnected, such programming will be lost.
The batteries serve to keep the programming performed.
The duration of the batteries is approximately three years, provided that the developer remains connected to the power grid.
Otherwise, its duration is about seven months.
When light of weakening LCD numbers indicate battery depletion.
For sustitucin, consult a specialist establecimento.
After battery replacement be necessary to reprogram the device.
Do not throw batteries in the trash. Depostelas in containers for this purpose.
ABNORMAL DISPLAY When the LCD display abnormally or blank, unplug the developer of the network and use the reset procedure.
Asgurese also that the battery is properly charged.
REPAIRS If the appliance is defective please take Authorized Service Technician.
In the example figure is good or timer programmed for n hours in thirty minutes you switched Continue.
Now begin to press the CD button countdown you.
On the LCD screen shows the time that counts down to zero.
When the countdown is over switches or out.
To deactivate programs you must all be in the mode button CLOCK SET button.
Now, when it must Flashes screen ON / OFF button.
Does an X symbol, whatever that means deactivated, all programs.
Keep in mind that the count is not influenced by this general deactivation.
CONNECTION TO MAINS SUPPLY
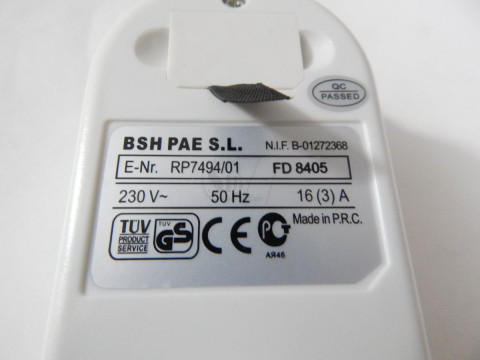
Make sure the mains voltage corresponds to that shown on the makers nameplate.
Do not use the timer with currents greater than 16A (3600W).
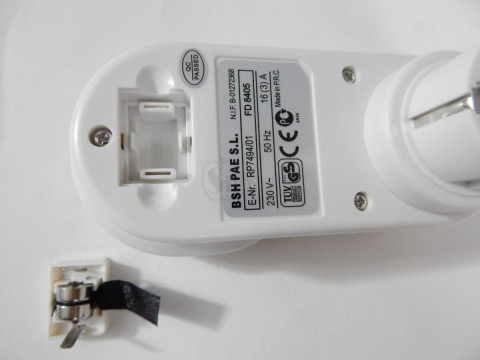
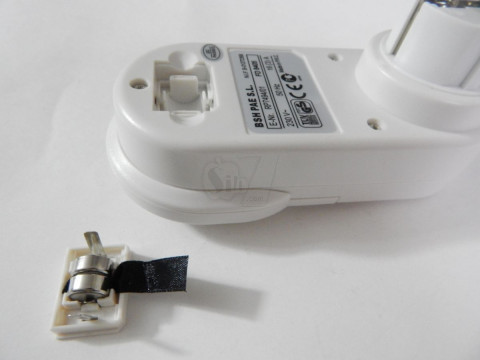
The timer is fitted with two batteries.
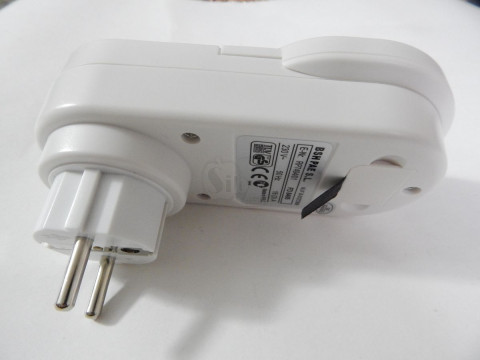
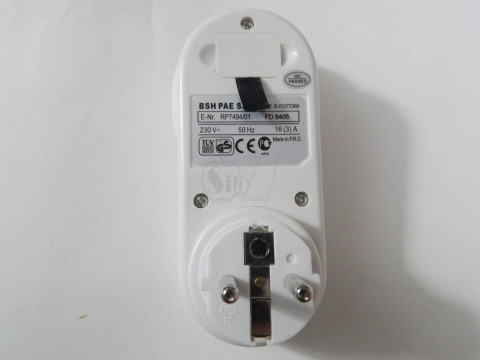
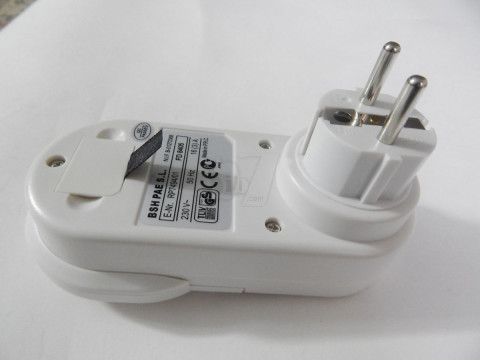
To switch the appliance on pull the plastic lug that sticks out of the battery compartment (see figure) and press the RESET with a rounded object, such as the tip of a ball-point pen.
A plug and socket with earth terminal are recommended.
IMPORTANT NOTES Read the instructions carefully before first using the timer, and keep them for future consultation. Do not leave the timer nor the batteries within reach of children. Use the timer in dry, enclosed conditions. Do not use it outside, and protect it from dampness and splashes. Do not use the timer if the cord or timer have been damaged in any way, or if the timer does not work properly. Do not force the timer or try to open it. In the event of damage or breakdown, take it to a UFESA Authorized Technical Service Centre. SETTING THE CLOCK In clock mode, the time may be seen as previously shown. The word CLOCK appears on the LCD. To set the current day and time, press the SET button. The LCD will be as shown in the figure.
Note that the day is blinking. Now select the correct day using the and keys and then press the SET button. Now the hour starts flashing. Use the same buttons to set the hour and press the SET button. Proceed in the same way these steps to set the minutes and seconds. CHECKING AND SETTING THE PROGRAMS
In the example shown, program 1 will start at 8:25 and switch off at 18:30 every day of the week. RANDOM PROGRAMMING The Timer Has A random generator to turn the timer on and off at random intervals.
The timer can be programmed for a specific weekly or daily operation. One can opt for the programs of the following: A certain day of the week from Monday to Friday from Monday to Saturday From Saturday to Sunday every day of the week The switch has six programs that, when they are in every day week mode are used, a total of 42 on-off switches make it possible per week.
Use the buttons to select the day on which the program is to be turned on. The display will pass through each day, then show the options Monday - Friday, Monday - Saturday, Saturday - Sunday and Monday to Sunday. Press SET to enter the day(s) selected. Now the hour will flash. Use the buttons to select the hour at which the program is to start. Press SET. Do the same to set the minutes, then press SET again to enter all the information introduced.
The timer will stay on for between 10 and 30 minutes, and off for between 20 and 60 minutes. Press RND to activate this function. The RND symbol will be displayed to show that the RANDOM function is activated.
All of the pre-set programs are disabled in RANDOM mode until either the RND button or the ON/OFF button is pressed again.
COUNTDOWN TIMER The countdown timer function can be used to turn the timer on or off for any period between 1 second and 23 hours 59 minutes. Follow the steps below to set countdown time. Display the CD PROGRAM using the or buttons (if in clock display mode, simply press the button once). Press the SET button. The SET symbol will be displayed and either ON or OFF will flash. Select ON using the or buttons. Press the SET button. The hour will flash. Adjust the hour as required using or , then press SET again. Follow the same procedure to set the minutes and seconds. Press SET to finish
No reviews found

